Oh, this dessert...it's thick and moist and the chocolate is just a hint. It's a perfect combination! Make it. Now.
Banana Bundt Cake with Chocolate Ganache
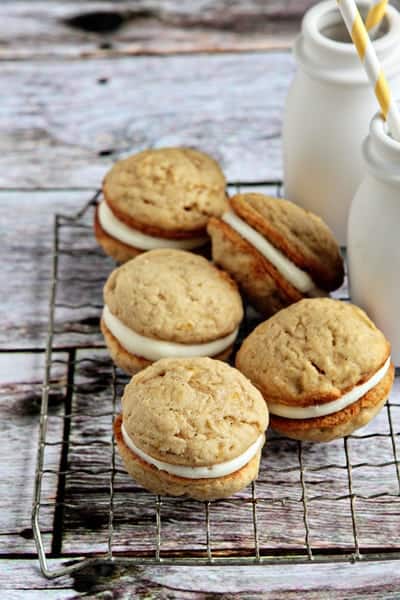
 |
| Photo Credit to mybakingaddiction.com |
1 1/2 cups bananas, mashed, ripe
2 teaspoons lemon juice
3 cups all-purpose flour
1 1/2 teaspoons baking soda
1/4 teaspoon salt
3/4 cup unsalted butter, softened
2 cups sugar
3 large eggs
2 teaspoons pure vanilla vanilla
1 1/2 cups buttermilk
4 ounces semisweet chocolate, chopped
1/2 cup heavy cream
Preheat oven to 275°. Thoroughly grease and flour a 12-cup non-stick bundt pan or use PAM spray for baking.
In a small bowl, mix mashed bananas with the lemon juice; set aside.
In a medium bowl, mix flour, baking soda and salt; set aside.
In the bowl of a stand mixer fitted with the paddle attachment or in a large bowl with an electric mixer, cream butter and sugar until light and fluffy, about 3 minutes. Beat in eggs, one at a time until fully incorporated. Stir in the vanilla.
Add in the flour mixture alternately with the buttermilk, mixing until combined. Stir in banana mixture.
Pour batter into prepared pan and bake in preheated oven for about 1 hour and 40 minutes or until a toothpick inserted in center comes out clean.
Remove from oven and place directly into the freezer (still in pan) for 45-60 minutes. This will make the cake very moist. Remove cake from freezer to a cooling rack for at least 3 hours.
When ready to serve, invert the cake onto a serving platter and prepare the chocolate ganache.
To make the ganache, pour the chopped chocolate into a medium mixing bowl, set aside. Pour the heavy cream into a microwave safe measuring cup (Pyrex) and microwave on high for about 1 minute or until bubbles begin to form on the surface. Take care to not overheat because the cream will boil over. Pour the hot cream over the chocolate and allow it to sit for about 3 minutes. Use a small whisk to combine the mixture into a smooth chocolate glaze. Drizzle over cooled cake. {I made the ganache, then kept it in a bowl so we could add however much we wanted on each piece and it worked great...maybe didn't look as pretty as hers...but tasted AWESOME!}